Spring Boot 시작하기
시작하기
VScode 환경 & VScode 플러그인 설치
1. 프로젝트 만들기
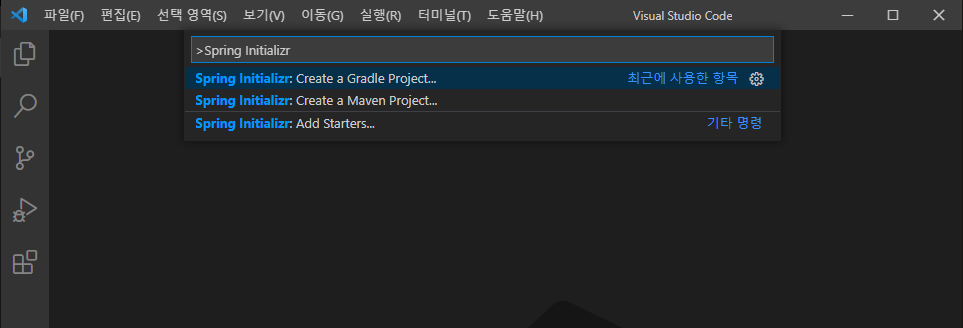
보기(View) > 명령 팔레트(Command Pallette)를 선택합니다. (Ctrl + Shift + P)
Spring Initializr를 검색하고 스프링 프로젝트를 선택합니다.

이어서 아래와 같이합니다.
Specify Spring Boot version. : 스프링 버전 선택
Specify project language. : 언어 선택 (java)
Input Group Id for your project. : 프로젝트 그룹 (com.example)
Input Artifact Id for your project. : 프로젝트 이름(springboottest)
Specify packaging type. : Jar
Specify Java Version. : 자바 버전 (8)
Search for dependencies. : (검색 후 선택)
 - Spring Boot DevTools
 - Spring Web
dependencies 까지 선택 후 프로젝트 폴더를 선택해서 프로젝트를 생성합니다.
2. 실행
F5 및 실행 > 디버깅 시작

ResponseEntity (API)
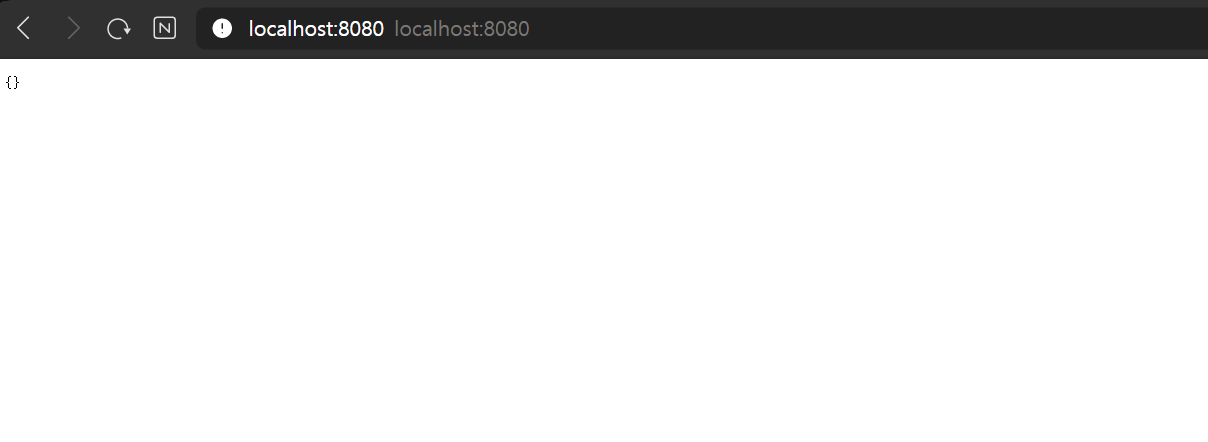
파일을 추가하고 실행하면 아래와 같이 출력됩니다.
package com.jjamong.web;

import java.util.HashMap;

import org.springframework.http.HttpStatus;
import org.springframework.http.ResponseEntity;
import org.springframework.stereotype.Controller;
import org.springframework.web.bind.annotation.RequestMapping;

@Controller
public class IndexController {

    @RequestMapping("/")
    public ResponseEntity index() {

        HashMap<String, Object> data = new HashMap<String, Object>();

        return new ResponseEntity(data, HttpStatus.OK);
    }
}
